Last night I decided I was going to try something different than the usual schedule of wake, work, home, (if I am motivated enough there could possibly be a workout inserted here), eat, blurp of cleaning (usually laundry so there isn't much thought involved) and then veg in front of the TV with the SWL for the rest of the night until I peel myself off the sofa to crawl in bed. Exciting, isn't it? I know.
So, I decided I was going to leave the TV off all night and pay some much needed attention to other tasks around the house. I did some cleaning (yes, beyond laundry so I actually had to think), some organizing, ate dinner with the in-laws, and I even took the time to make a pillow!! I am very excited about this. Cleaning is great and all, but crafting is where its at for me. Its like the pocket protector for avid number cruncher, I get all giddy and ready to take on the world when I get to craft. (Nerdy? Yes...)
Here is my latest project, very beginner but very useful. Anyone could do this! :0)
First, I decided that I needed some pretty simple throw pillows for our living room. Our walls are a medium beige (SW Barley) and we have an accent wall that is blue grey (SW Iron Frost). I tend to use browns, greens, blues, and whites in all my accents around the house. We already have some green throw pillows so I decided to add a little blue on our beige furniture. The fabric I picked up at Wal-mart so if I totally messed up I wouldn't feel guilty. I gathered all my supplies: Martha Stewart's Encyclopedia for Sewing and Fabric Crafts, fabric, sewing machine, ruler and measuring tape, pencil, scissors, pillow form.


I went with the envelope-backed pillow cover. This allows you to change/wash the cover without having to take the cover apart. I simply followed Martha's instructions.

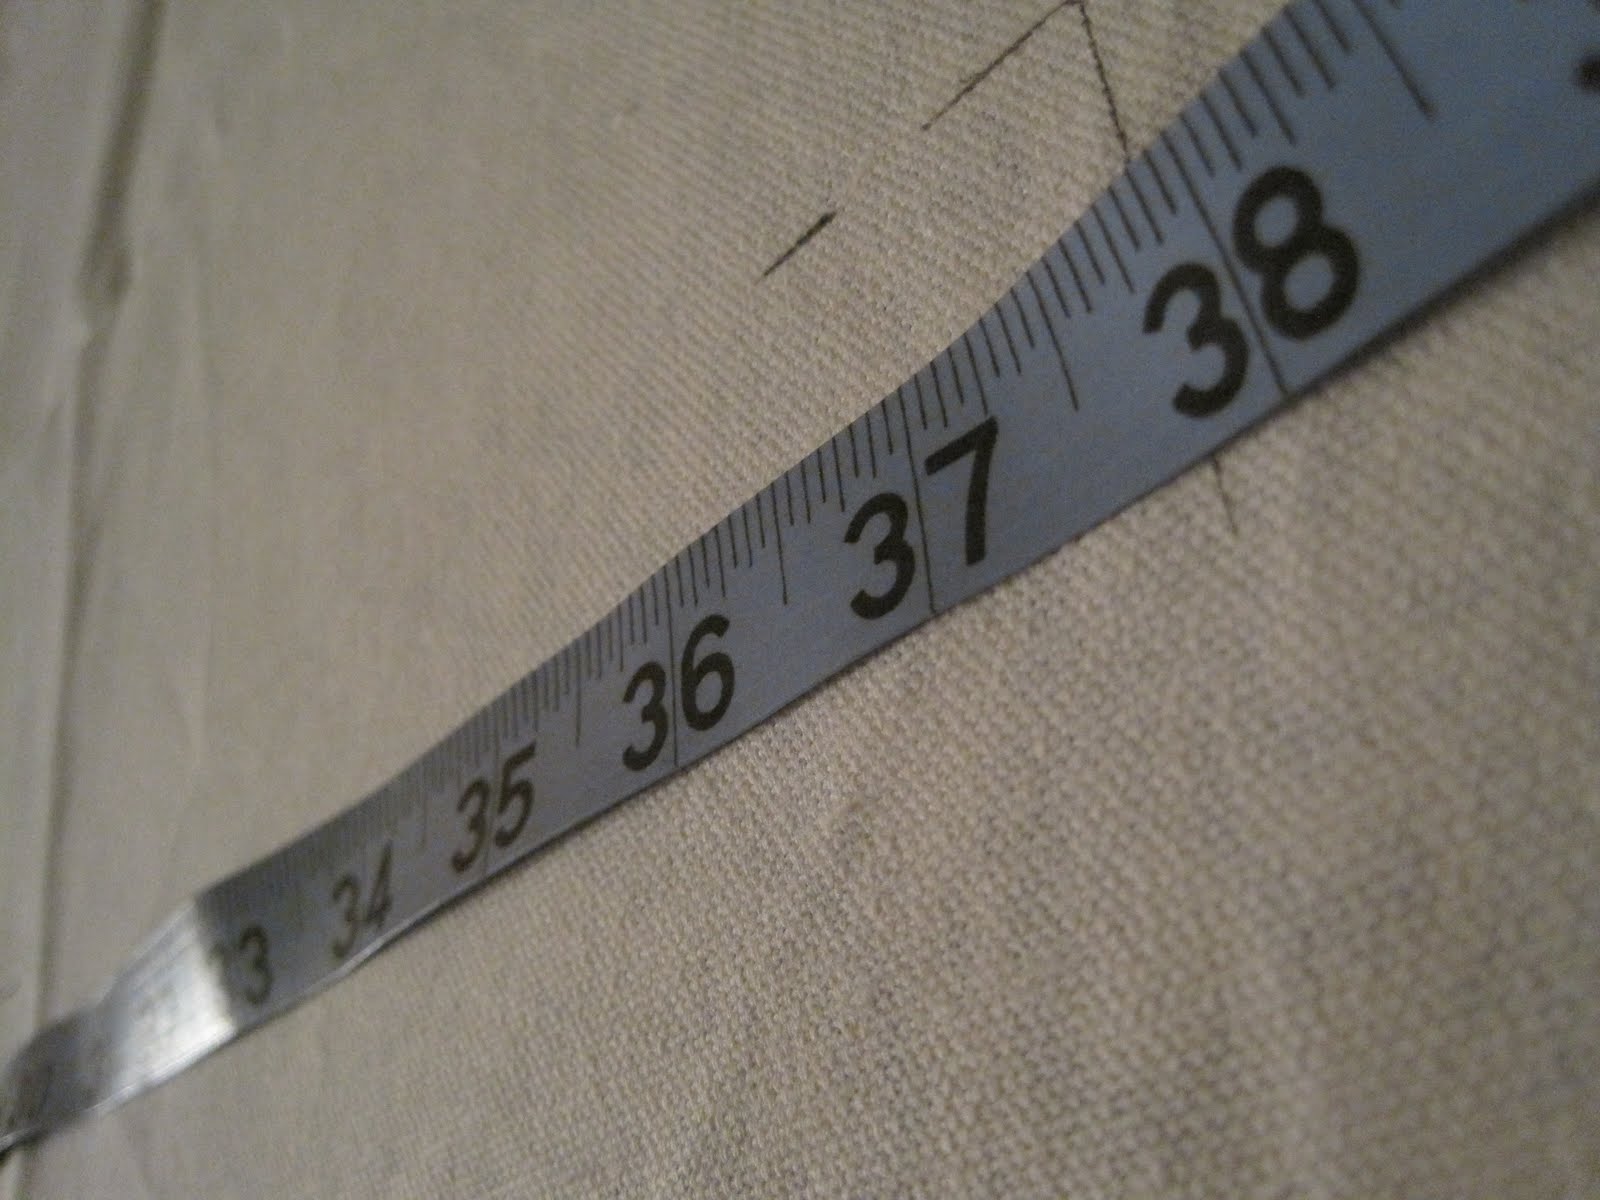
First, I marked and cut my fabric. My pillow form was 12x16 inches so I measured a 13x38 inch rectangle (1 inch extra on the height for seam allowance and multiply the length by 2 and then add 6 inches for allowance as well). When measuring and marking I like to do so with the fabric right-side down. This way you don't need to worry about the marks being seen. Once I measured and marked, I cut out the rectangle.
 Next, I hemmed the ends of the rectangle (the two 13 inch ends, only). I folded the ends over 1/2 inch and pressed them with the iron, then folded them another 1/2 inch and pressed again. Once the folds stayed in place I ran it through my sewing machine to secure the hem. Martha only suggests a single stitch for the hem, I however am a fan of reinforcement. I ran the hem through the sewing machine twice and back-stitched on the ends (just to be safe).
 Once both ends were hemmed I folded them towards the middle of the fabric (now right-side up) and overlapped by 4 inches. Here you should measure to be sure the pillow cover is the correct length for your pillow form (16 inches for me). The height should still be 1 inch more than your pillow form (13 inches for me).

 Once I measured and everything was matching up, I pinned the edges to hold them in place while I sewed the hem along the sides. I sewed the hem with an allowance of 1/2 inch on each side. Once again, Martha said hem it once...I sent it through the machine twice and double-stitched the ends.
 After both sides were hemmed, I removed the pins (I only stuck myself twice...big accomplishment there) and flipped my newly made pillow cover the right-side out!! The corners like to stay tucked in so I used a closed pair of scissors to push them completely out.
 All that is left to do is insert the pillow form and enjoy, yay! Here is the finished product!
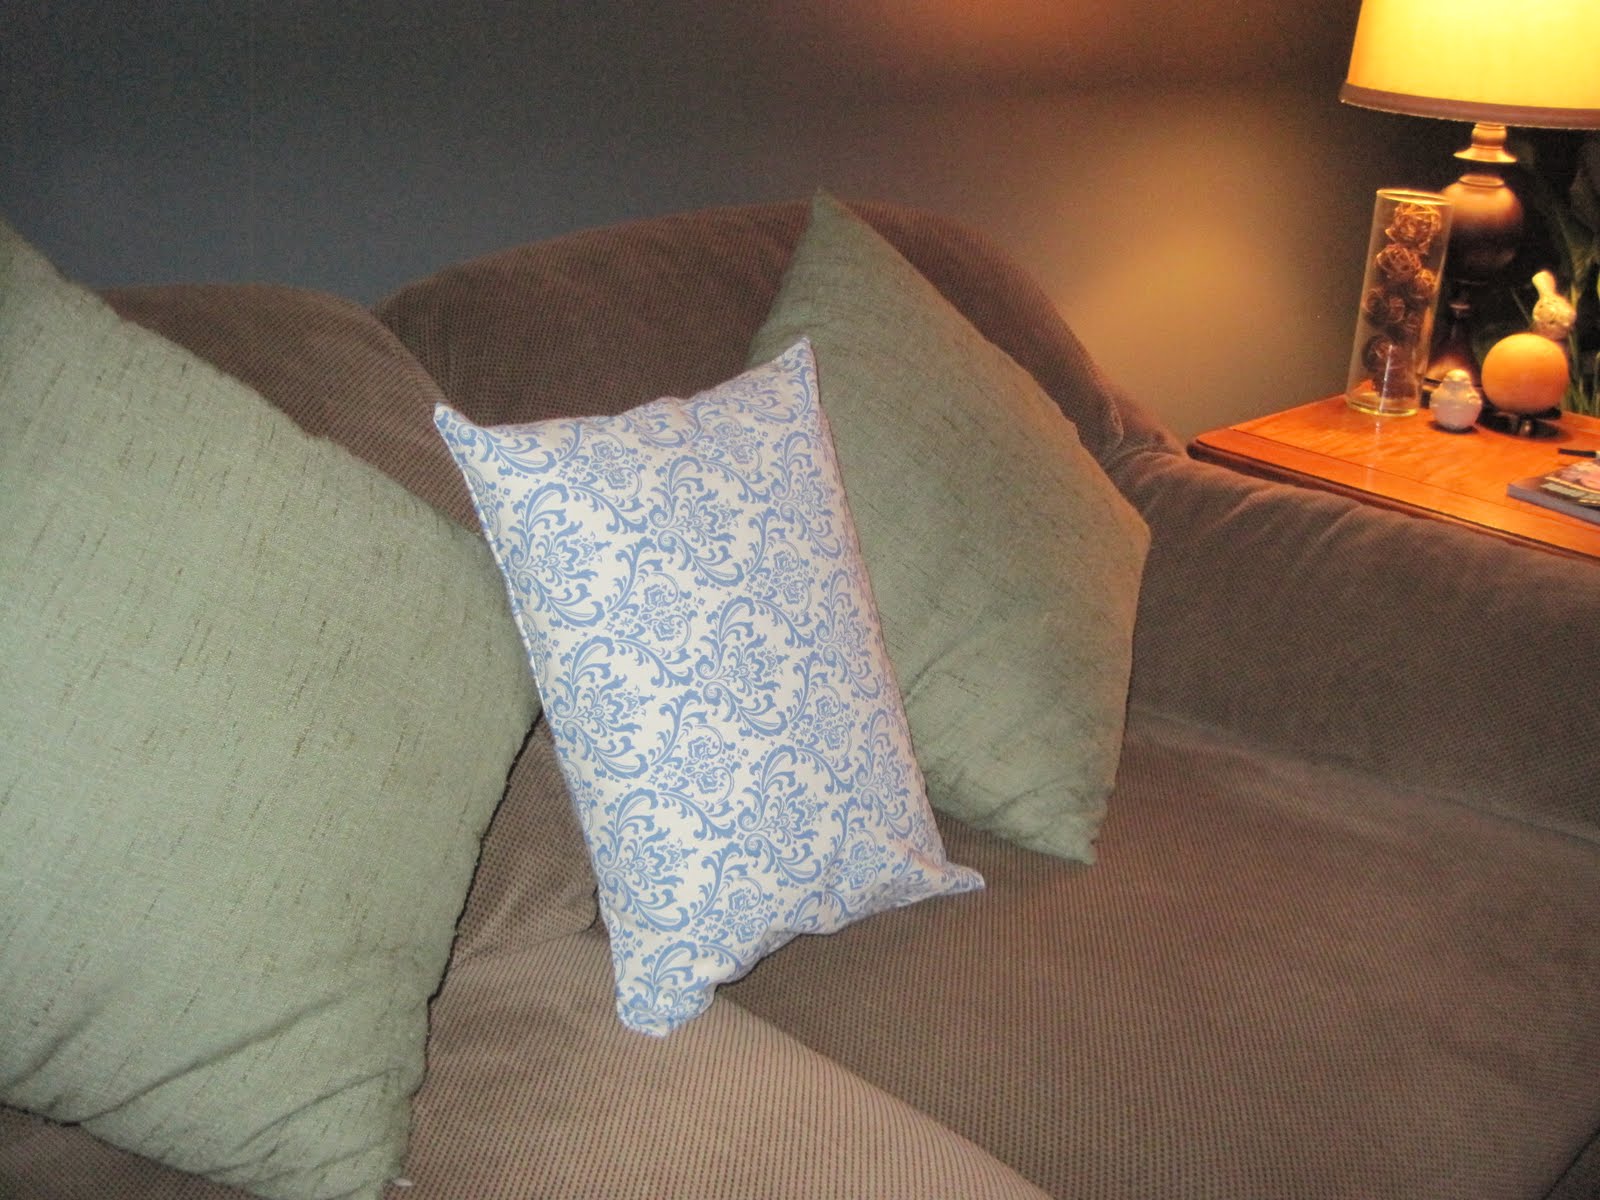
 I like how the blue of the design on the pillow works with the accent wall but is not overbearing.
Now that I know I can make the simple pillow covers I feel like I can venture into deeper waters...I've already found another little ditty I think I might dive into next...time will tell!
Thanks for stopping by, as always keep any and all creative ideas coming, I would love to hear what you are thinking!
~HAL
All of the pillow covers I sew are envelope closures. They're so easy and you don't have to mess around with zippers! Yours turned out great!
ReplyDeletehttp://ourhumbleabowed.wordpress.com/2010/08/24/sew-it-begins/
thanks So much for your comment and compliment! Envelope covers are definitely the way to go...easy to make, easy on and easy off! I am a fan of your blog so I cant believe you read mine :o) Please visit again!! ~HAL
ReplyDelete